It’s important to keep your laundry products up, closed and safe – away from children. If at any time you have difficulty closing your package, please reach out directly to our team.

How to Do Laundry
Sometimes life isn’t easy, and neither is your laundry.
You may feel overwhelmed when you’re faced with choosing the right detergent, or, perhaps you’re more worried about shrinking that sweater in the wash. From how to do laundry, beginning with the basics such as sorting, dosing the right amount of detergent, and decoding laundry symbols to getting sweat stains out of clothes, let Tide help you with our laundry guide that includes seven easy tips on how to wash clothes in washing machines—whether you’re a novice or a pro.
Laundry Basics
Odor Removal
Laundry Care In 9 Easy Steps
Step 1. Know Your Laundry Symbols
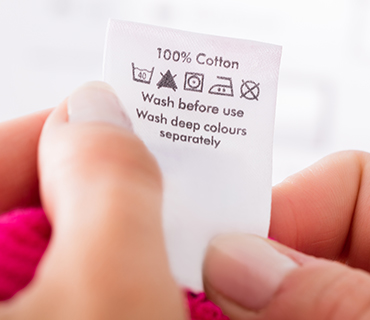
It may seem like a secret code at first glance, but fabric care labels are actually laundry instructions that are easy to interpret. These laundry symbols let you know before washing which cycle to use, how to dry, and even how high the heat setting on an iron you can use. Once you get to know a few of these universal washing symbols your laundry routine will become second nature. Some of the most common laundry symbols will show you:
When to use a cold or hot wash or something in between
When to use or avoid bleach
Which garments to tumble dry and which should dry flat
Because different materials have different laundry needs, it’s important to check your garments’ fabric care labels before getting started. Knowing these symbols will help you understand how to do laundry properly and preserve the life of your clothes. Follow along to learn how to read care and fiber labels, or simply download or print our free laundry symbol cheat sheet to use whenever you need it so you can give your clothes the best care possible:
Step 2. Learn How to Separate Laundry
Once you’ve familiarized yourself with fabric care labels, the next step in how to do laundry properly is sorting. For the best results, you’ll want to wash different colors and fabrics separately. To begin, you can sort clothes by:
Color Shades
Clothes with deep colors are more likely to bleed dye when washed. To avoid damaging other clothing, sort laundry according to color, separating lights from darks.
Fabric Weight
Wash and dry heavier items, like towels, separately from lighter weight clothes to prevent damage to finer fabrics and to ensure even drying.
Fabric Type
Wash delicates and durable fabrics separately on the appropriate washing cycles to avoid damage to fine fabrics. Separate items with zippers and buttons from knits and lingerie.
Amount of Dirt
Very dirty or stained laundry should be washed separately on a longer, heavy-duty cycle. This provides the agitation necessary to get rid of heavy dirt. Don’t worry—we’re here to show you how to sort laundry for the best results.
Don't worry, we're here to show you how to sort laundry for the best results.
Step 3. Understand How to Pretreat Stains
Pretreat any heavily stained or soiled clothes. This helps to loosen up the stain, making it easier to wash it out. There are several methods you can use depending on the stain, but these two are used most often:
Coffee, tea, berry, or sweat stains
Pour detergent directly on the stain, then gently rub the fabric together or use a soft-bristled toothbrush to help work the detergent into the fibers, then leave it on for a few minutes.
Blood, dirt, or motor oil stains
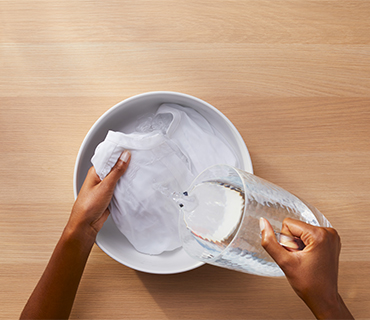
Prepare a soaking solution with Tide detergent. Let these garments soak for about 30 minutes before washing.
And there are other stains where these alternative pretreating methods may come in handy:
Butter, margarine, or grease stains
Rub dish detergent onto the stain to loosen it before pretreating.
Chewing gum stains
Soak the item in hot vinegar for 1 to 3 minutes, but always test for colorfastness first. You can do this by applying a small amount of vinegar to an inconspicuous area of the garment. After a few minutes, blot with a paper towel, and if no color comes off on the towel, your garment is colorfast, and you can continue to pretreat.
Step 4. Determine How Much Detergent to Use
Correct detergent dosing is the next most important factor for laundry success. The right amount depends on how large your load is, how dirty the clothes are, the hardness of your water as well as the type of detergent you’re using. And you may still need to use a different amount if you are using an HE machine.
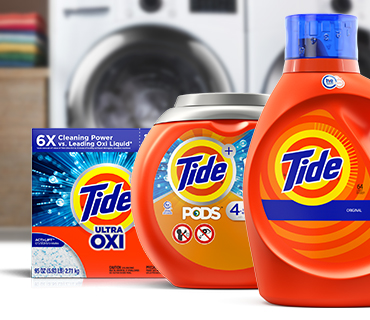
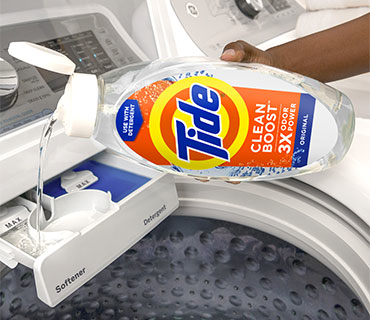
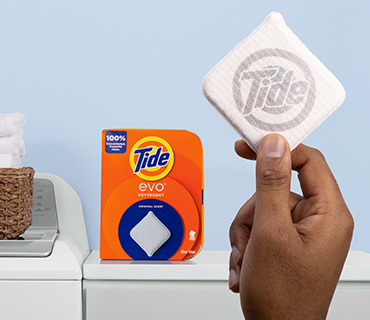
The correct dosing is printed on every Tide® detergent package, and you can use the cap for liquids and the scoop for powders to measure the correct dosage. With Tide PODS®, dosing is even easier. Simply place the sufficient number of laundry pacs into the drum, then add clothes, and start the cycle. Let us show you how much detergent to use for every load size with our simple Tide PODS Dosing guide.
Step 5. Final Check
Before you get started on washing, you’ll want to take a bit of extra time to ensure any garments that need special attention or stain treatment are taken care of first. By taking a moment to assess and pretreat things like oil stains, sweat, blood, or grass and dirt stains, you’ll be less likely to set them in and make them more difficult to remove and more likely to wind up with fresh-looking garments that last longer.
Also be sure to take a moment to check any pockets for tissue paper, loose change, ink pens, or electronics to avoid damage or additional staining. Be sure to also close all zippers, buttons, or Velcro to prevent them catching or tearing other fabrics.
Step 6. Master How to Load a Washing Machine
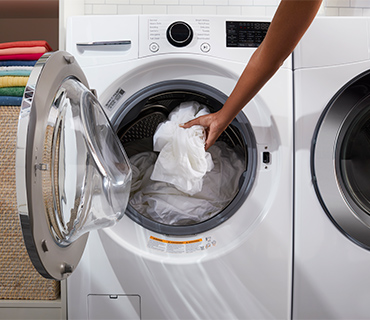
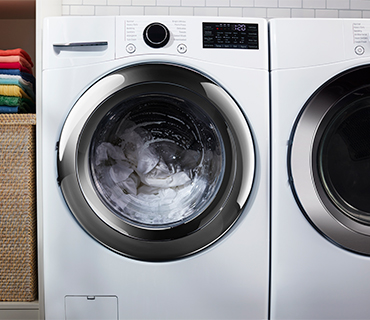
To get the most out of your wash (and save time and energy), pay attention to the size of your washer’s drum and your load size. Give your clothes enough room to tumble without wasting water by applying the palm trick to avoid overloading. Just place your hand into the drum, and if your hand fits between your clothes and the wall of the drum, then you have the perfect load size. It's as easy as that.
Step 7. Select the Proper Wash Cycle
before selecting your cycle, always check the care label first. Aside from your detergent, the speed of agitation and temperature of the water are what get your clothes their cleanest. After you’ve sorted your items by color or fabric type, choosing the right cycle should be easy. Check the table below on speeds and water temperatures to better understand how to wash different clothes for the best results:
Normal/Regular Cycle
Fabric Type: Best for whites, sheets, towels, underwear, socks, and heavily soiled items
Purpose and Speed: Removes stains and dirt; cleans durable fabrics. Uses fast agitation in the wash cycle and a fast spin cycle.
Delicate Cycle
Fabric Type: Best for wool, silk, and any other, fragile garments that say “gentle wash” on the tag
Purpose and Speed: Gently cleans delicate items. Uses slow agitation in wash cycle and a slow rinse cycle.
Permanent Press Cycle
Fabric Type: Best for jeans, many non-cotton items, synthetic fibers such as rayons, knits, polyesters, and acetates
Purpose and Speed: Cleans every-day clothes that wrinkle easily. Uses fast agitation in the wash cycle and a slow spin cycle.
Using the correct water temperature can mean the difference between clean, bright clothes and dingy or still-dirty results. Keep colors from running or bleeding and banish spots and odors by checking the water temperature table before you get started.
Cold Setting
Fabric Type: Dark colors, bright colors that may run or fade, delicate fabrics, lightly soiled fabrics, anything that might shrink
Purpose: Cold water saves the most energy while also being the most gentle on clothing.
Warm Setting
Fabric Type: Synthetic, permanent-press fabrics, towels
Purpose: Good cleaning power for preserving colors without much fading or risk of shrinking.
Hot Setting
Fabric Type: Whites, cotton fabrics, socks, bed sheets, heavily soiled garments, baby clothes Purpose: Hot water removes the toughest stains and gives garments a deep clean.
Step 8. Consider How to Dry Your Clothes
Now that you have fresh, clean clothes, there are a few important things to remember when drying them. It’s important to choose the correct temperature for drying to prevent shrinkage and damage to the garments’ fibers. Do not forget to take laundry out of the washer immediately to prevent musty smells from forming.
Before drying, check your items’ care labels. Some fabric types cannot be tumble dried, so you'll want to set those pieces aside to air dry. To help you get the best results, here’s a quick guide to fabric care labels’ drying symbols.
Be sure not to overload your dryer so all your garments have enough room to tumble. Add a Bounce® Dryer Sheet to stop wrinkles and prevent static, and you’re good to go!
Step 9. Hang or Fold your Clothes
To best preserve the cleanliness of your garments and prevent wrinkling of fabric, it’s always a good idea to hang or fold them as they come out of the dryer. As always, consult your care label for instructions on whether or not you can iron garments, and always return your clothes to their proper closet or drawer as quickly as you can.
Of course, if you’re wondering what you should hang versus what should be folded away in a drawer, that will depend on how much space you have in your closets or dressers and what your personal preferences are.
Flowing Fabrics
In general, anything made from sheer fabric like silk or chiffon is best hung in a closet. Folding or stuffing these into a drawer can lead to undue wrinkling or damage.
Linen
Linen wrinkles very easily, so it’s best to always hang these garments in your closet to avoid creasing or wrinkles. Linen also should be ironed before hanging to keep it looking its best.
Pants
While jeans are perfectly fine folded away in a drawer, dress slacks or casual pants should be hung to avoid wrinkles.
Dresses
Almost all dresses should be hung in a closet to prevent wrinkling. The exception to this are heavier dresses or sweater dresses, which can be stretched when hung. These heavier dresses should be folded and put in a dresser.
Jackets
Since these items are usually large and feature things like hoods, trying to fold them into a dresser can be problematic. Additionally, suit jackets or blazers should always be hung to keep them looking their best.
Sweaters
Thicker items like sweaters should be folded to keep their fabric from stretching and save space in your closet.
Activewear
Anything athletic like yoga pants, gym shorts, workout tops, or other gym apparel can be folded in a drawer, especially since it’s less important if they get wrinkled.
Shorts
Shorts are typically folded since it doesn’t really make sense to hang them in your closet.
T-Shirts
These versatile items can be folded, hung, or even rolled up and stacked in a drawer to save space. Since most are made from stretchy fibers, they are less likely to wrinkle. If you do decide to hang them, be sure to use a wider hangar versus a wire hanger as it will prevent stretching.
Jeans
Also a versatile clothing item, jeans can be either hung or folded and put in a drawer. Their thickness will help them hold their shape and make them less likely to wrinkle when folded.


